|
|
 |
|
This
is the start of the tear down. I have loaded up on freezer and sandwich bags. I use them to keep track of parts for each
assembly (It’s
a good idea to have a camera if you want to know where the parts go after a couple months) I just
used 3 different service manuals. Haynes, Clymer and Yamaha factory
|
|
|
| #5 |

|
| starting to take apart |
# 5 The
seat, tank, side covers, and carbs have been removed. There is no turning
back now!
|
|
|
| # 6 |

|
| left side |
# 6 I have to
start taking out the wiring harness. I used wire markers from the electrical supply. Each connector got marked, with
a number or letters to show where they connected. I left these on, now I know where each wire goes or what its for. Great
for future troubleshooting
|
|
|
| # 7 |

|
| shot from back |
# 7 The rear tire and swing arm are removed also the rear shock. There
is a lot of cleaning to do here! Next I will take the rear assembly off, brake caliper and shock linkage. There
will be bushings to check and bearings to clean and repack with synthetic grease .
|
|
|
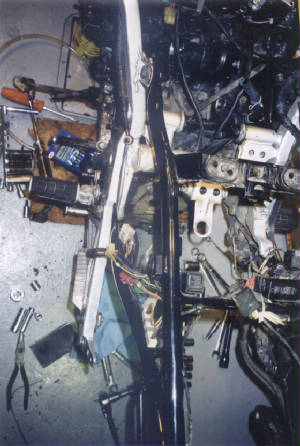
| # 8 |
|
| shot of rear/left |
# 8 more pieces and parts to go this
should only take a minute or two !
|
|
|
|
|
|


